Create Project
Creating and Managing a Project
This guide provides step-by-step instructions for creating a project in Stack Console, adding users, and configuring account limits and quotas for the project.
Creating a New Project
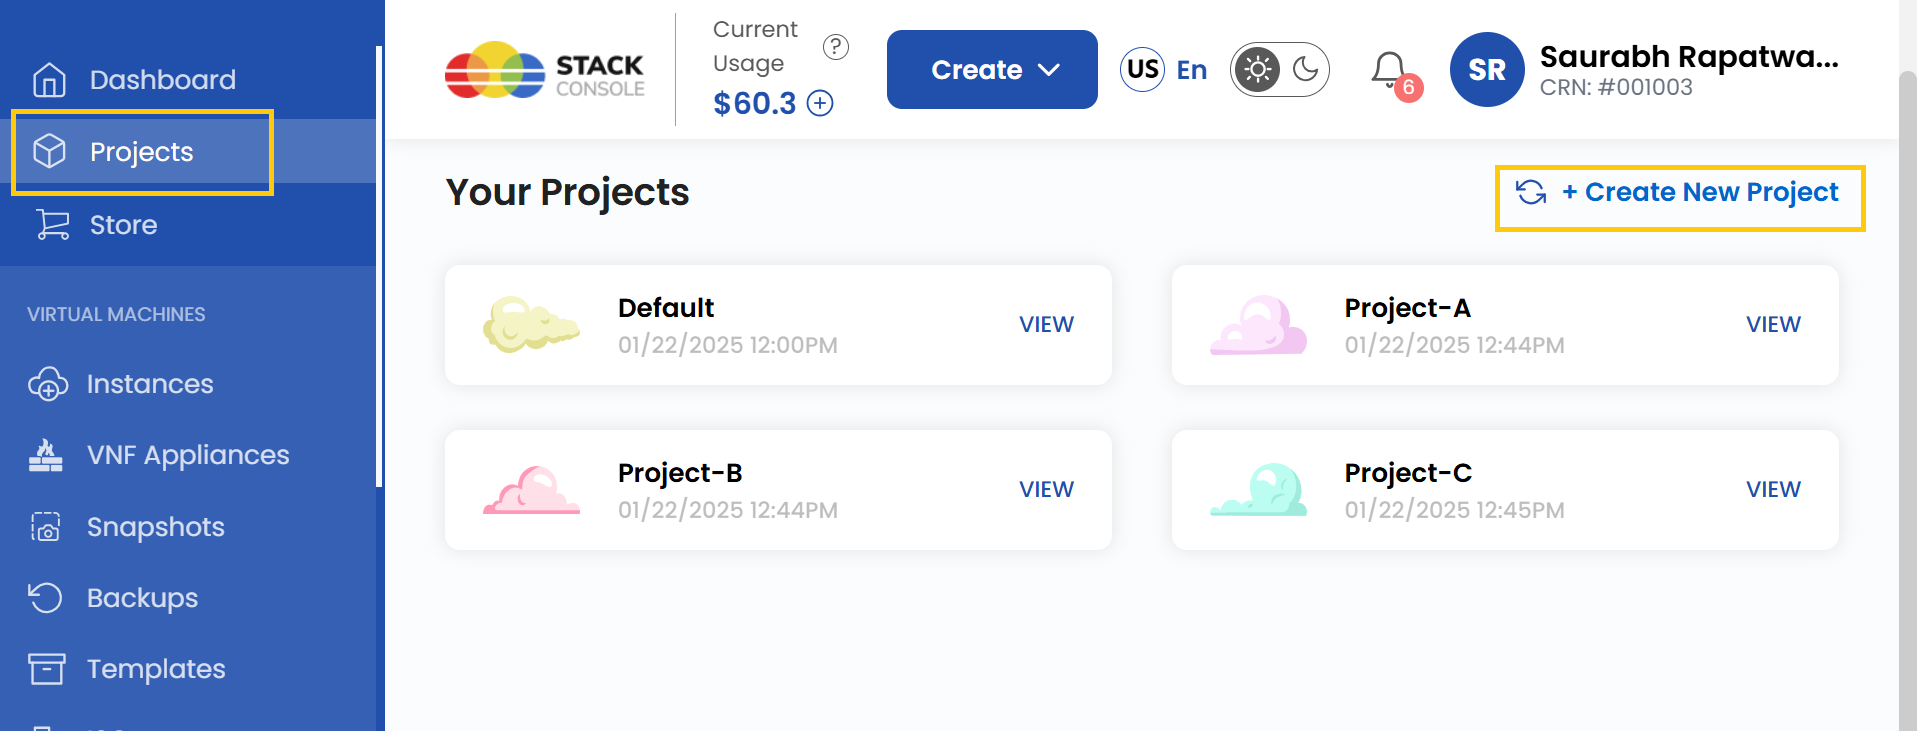
- Navigate to the left-hand menu and click on Projects.
- Click on Create a New Project.
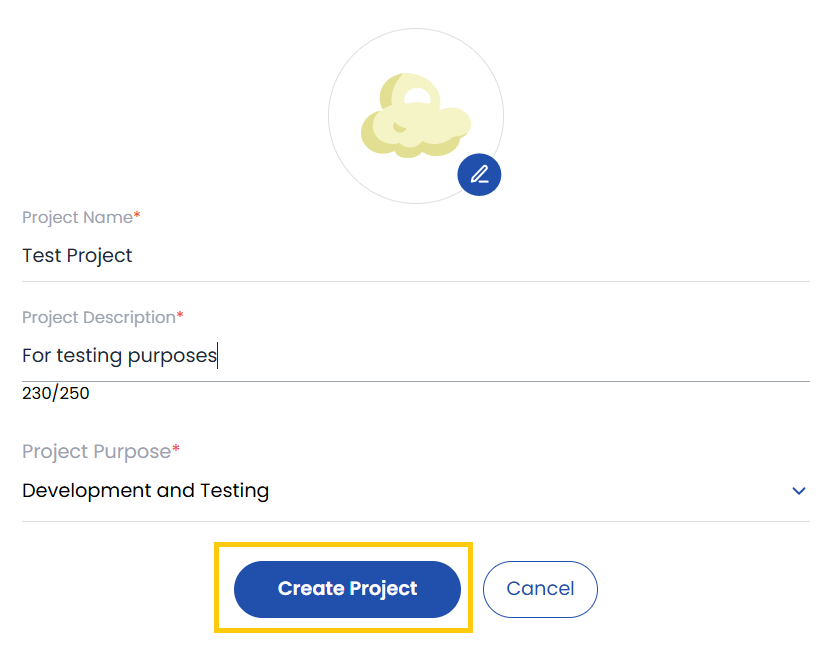
- Enter the project details such as Project Name, Project Description, and Project Purpose.
- Click on Create Project. Your project will be successfully created.
View Resources for a Project
Once the project is successfully created, you will be able to view the associated project resources.
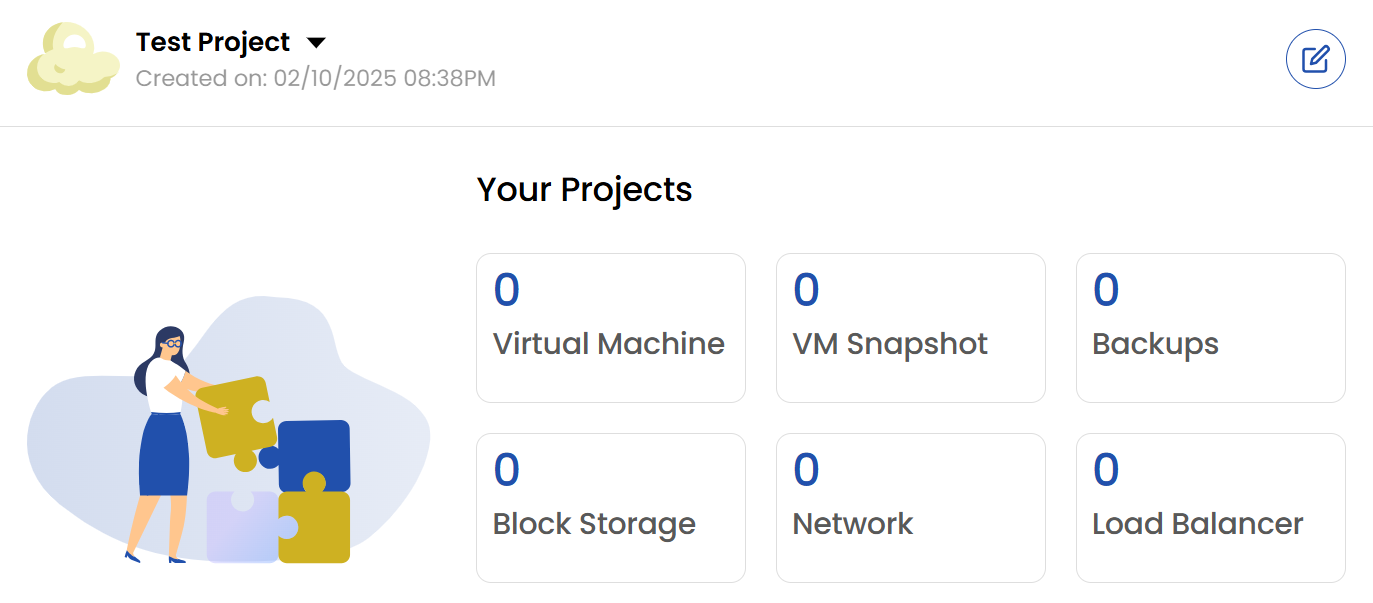
- Virtual Machine: Fully configurable cloud server for running applications or hosting websites.
- VM Snapshot: Point-in-time backup of a virtual machine’s state and data.
- Backup: Managed backup solution for protecting data and ensuring business continuity.
- Block Storage: Additional storage volumes attached to virtual machines for data storage.
- Network: Options for public and private networking to connect and manage cloud resources.
- Load Balancer: Distributes traffic across multiple virtual machines for high availability.
Adding Users to a Project
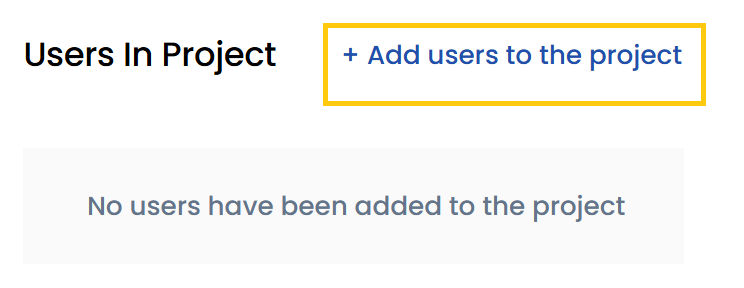
- To add users to your project, click on Add Users to the Project.
- Use the search bar to find the user you want to add.
- Click on Add to include the user in the project.
Setting Account Limits for a Project
- You can manage resource limits for a project by setting account limits.
- Navigate to the Project Account Limit section. Here, you will be able to view the limit and usage of the resource.
- Select the appropriate Zone for which you want to set the limit.

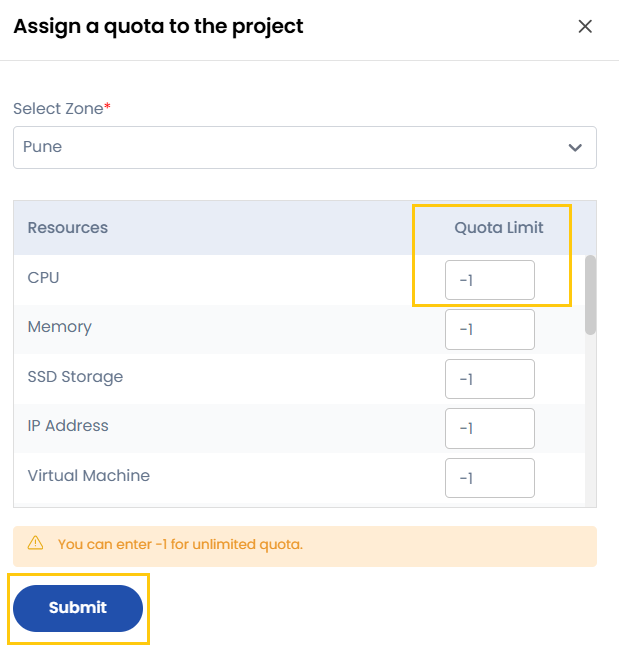
- Click on Edit Account Limit. You will be redirected to the Assign a Quota to the Project page.
- Select the Zone and the specific Resource you want to change the quota limit.
- Enter the desired Quota Limit. If you set the quota limit to
-1, it will assign unlimited quota for that resource. - Click on Submit.
By following this guide, you can effectively create and manage projects within Stack Console, ensuring seamless collaboration and optimized resource allocation.